
With the imminent arrival of Roux’s litter this week, I spent part of Easter Sunday preparing my whelping box. You can spend a lot of money on a whelping box and I have used a more traditional whelping box in the past but years ago, when we were installing a dog bath atop an existing sink/vanity in our kennel building, we found a 3 ft square, fiberglass shower stall base in the “scratch & dent” section of Home Depot for $25. It didn’t fit the space intended for the dog bath but, it occurred to me…this could be a GREAT whelping box…and it’s what I’ve used and loved ever since. It gives me plenty of room to deliver the litter and it’s so easy to clean. So, here is my set-up…

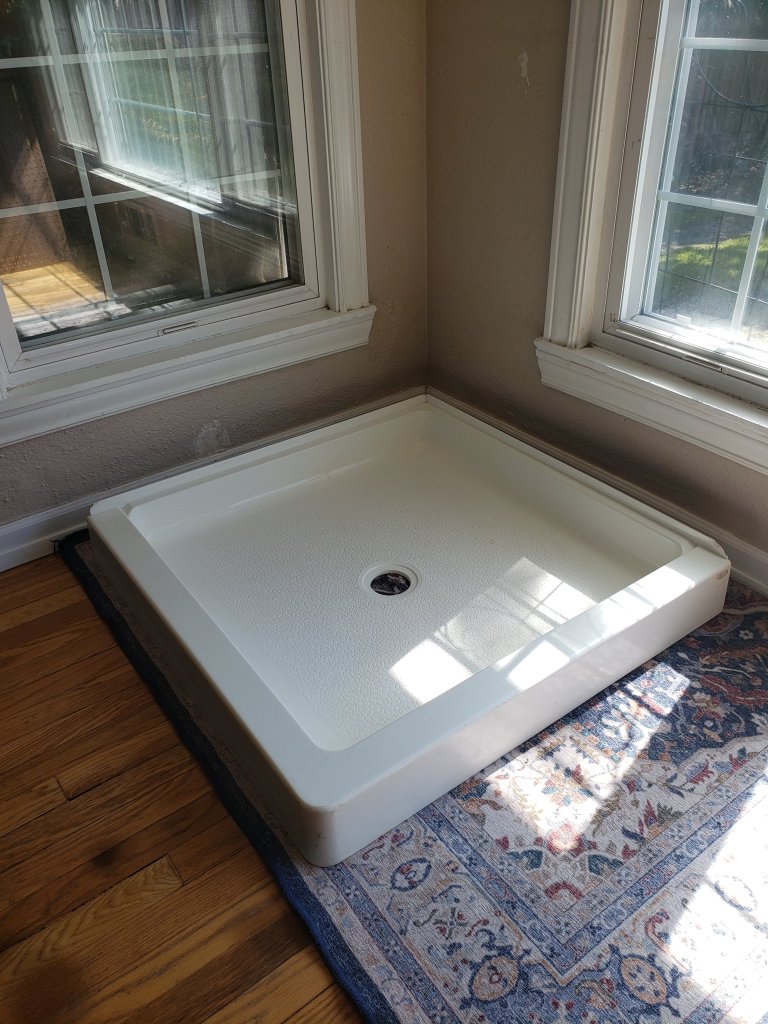

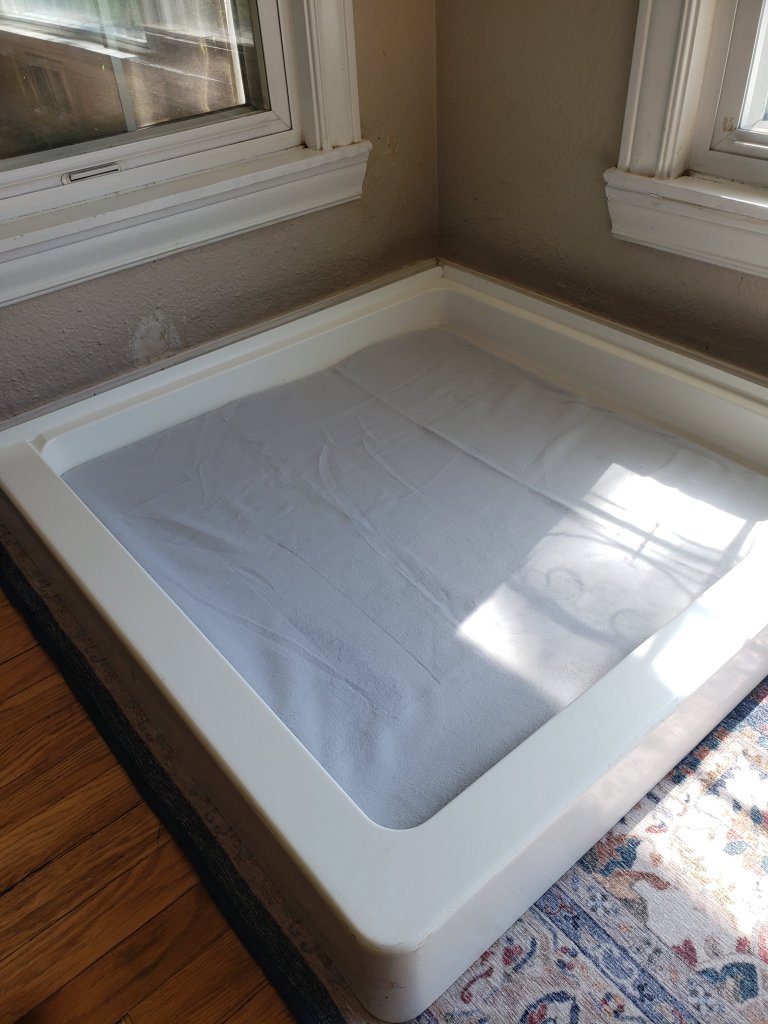
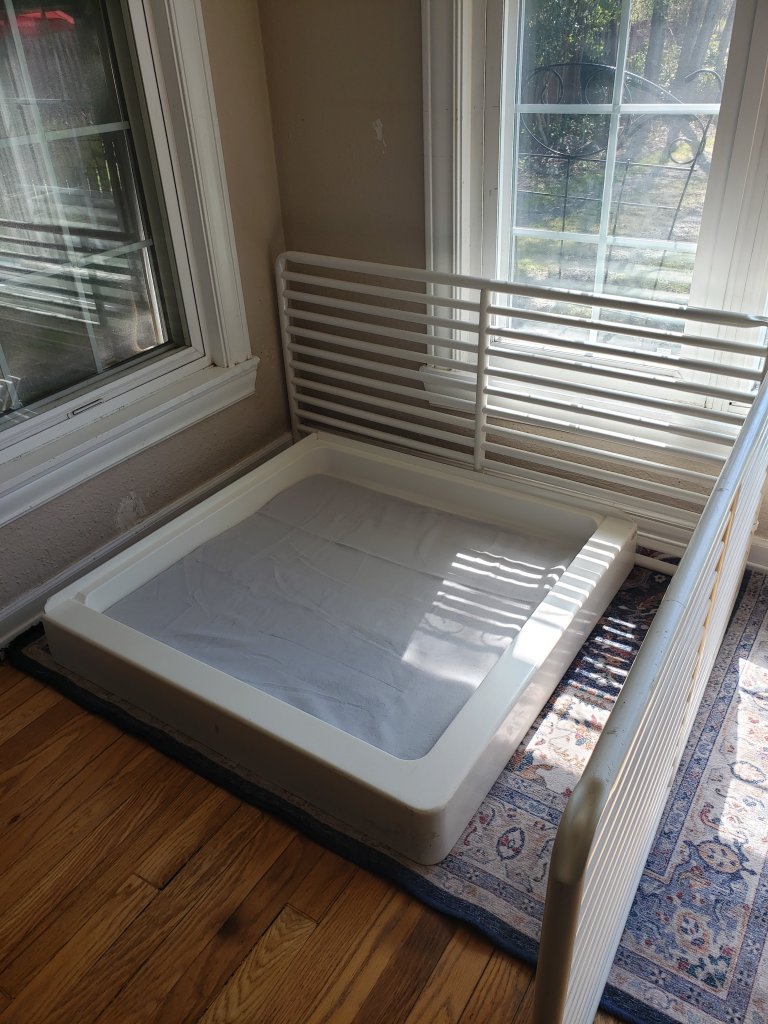

This will be my initial set up for the delivery of Roux’s litter. When it’s time for Hanne to deliver the following week, Roux and her family will move to the bottom half of a Vari-Kennel 300 crate and Hanne will whelp her litter in the whelping box. A variety of modifications will be made as the litters grow but they will start their lives here in the warm, sunny corner of our living room. I have pig rails to add after delivery but I prefer the access that the box provides as shown for whelping. As I look at these photos, I see the wear and tear of several years of litters on my walls. We’re looking forward to a fresh coat of paint after the puppies have moved to their new homes! 🙂


Exciting times!
Her belly is getting so big!
Love that first pic. What a couple of sweethearts! Lucky girls to be surrounded with so much care.
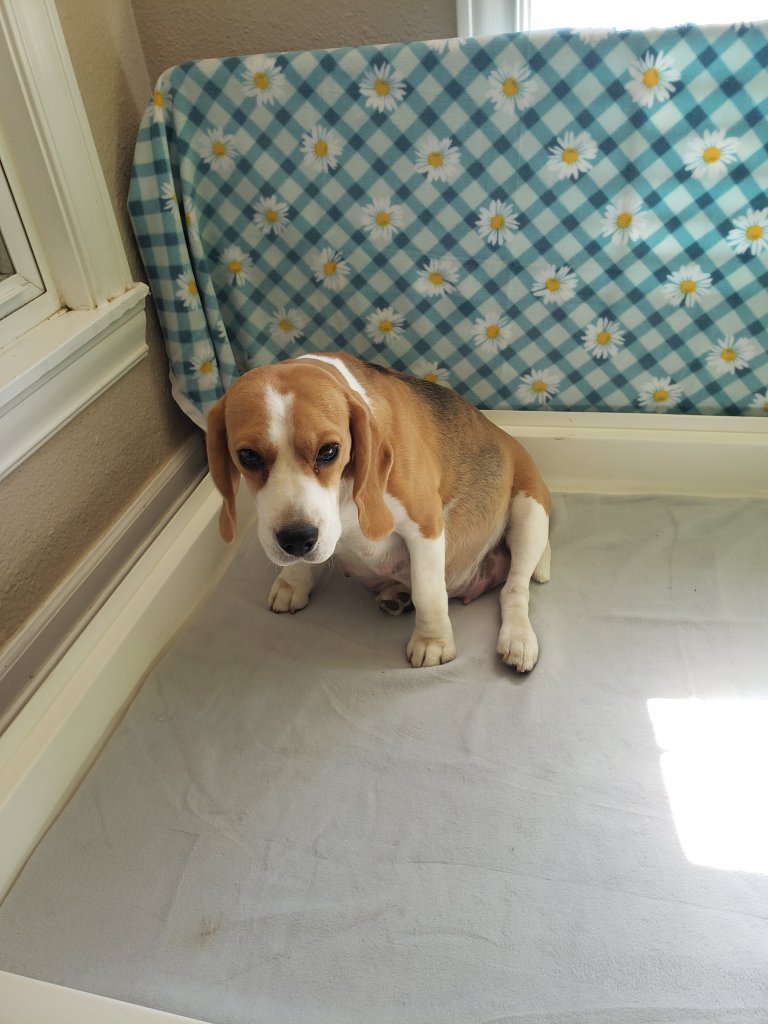
I do believe Archie could have been in contact with that wall, looks like his work!
LOL!!! No pointing fingers… 😉
I am in love with Hanne, she looks so calm and beautiful. What a gorgeous photograph!
Thank you, I absolutely adore Hanne. She has the most marvelous temperament and she’s a lovely bitch. I’m very excited about this litter.